
1. Click on the Edit Definition Button.
2. Enter the changelog comments to proceed with the action and submit.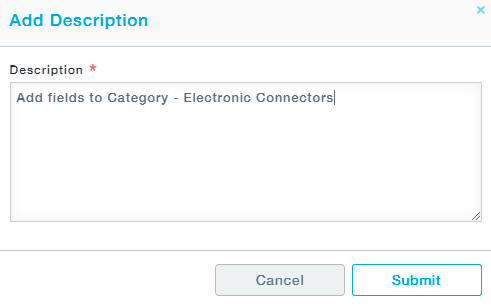
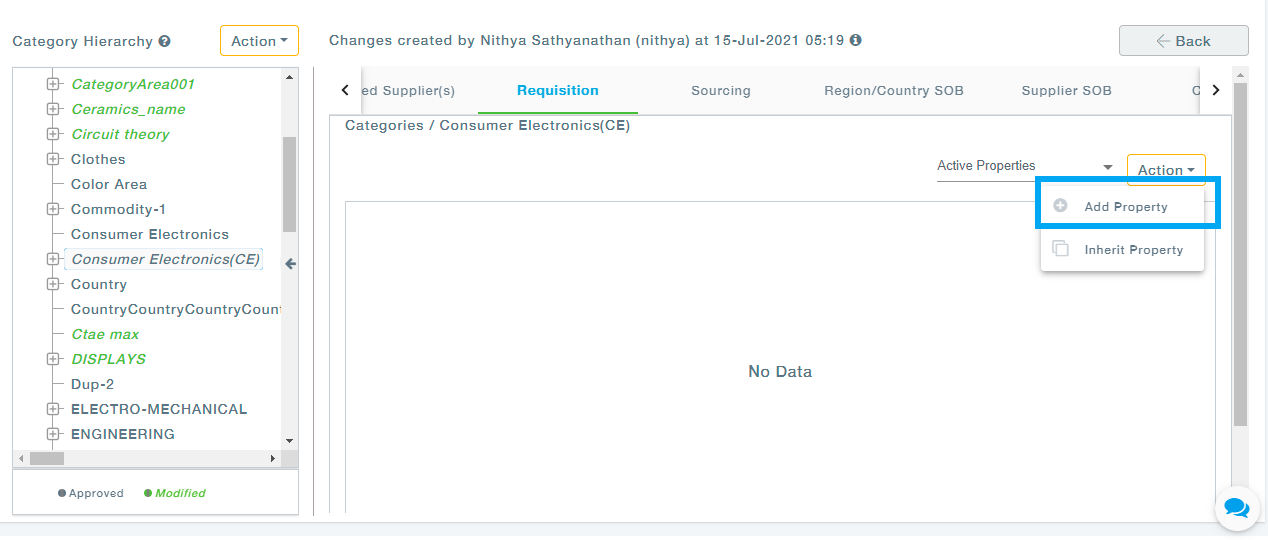
3. Select the category you would like to capture the additional information while raising a requisition and move to the Requisition tab. Now, click on Action, followed by Add Property.
4. Now enter the details of the field you would like to create and submit the form.

Field Name | Description / Purpose |
Name | Name to identify the field |
Label | Display name of the Field |
Placeholder Label | An attribute that is invisible to screen readers once the field is filled |
Display Order | Order of display of field |
Width | Width of the field - Full/half/one third/quarter |
Alignment | Field Alignment – Left/Right/Centre |
Applicable for all Children? | Select if the field must appear for all the child categories |
Inheritable? | If checked will let the child inherit the properties at a later point of time. |
Help Information | Help Text for the field |
Type | Type of field- Drop Down, multi-line text, date, numeric, etc. |
Mandatory? | Whether the field is mandatory |
Minimum Characters | Minimum Characters required in the field |
Maximum Characters | Maximum Characters allowed. |
Numbers Allowed? | Check yes to include numbers in the field |
Alphabets Allowed? | Check yes to include alphabets in the field |
Special Characters Allowed? | Check yes to include special characters |
5. Now click on either Go To Change Log to land on the Change log tab or click on the continue button to move to the adjacent tab- Sourcing.
6. Click on the continue button to move to the approval screen as shown. Select the approver and submit the changes you have created for approval.