
Expand the Template you would like to work on. You will get to see the list of different tabs made available in the selected Template.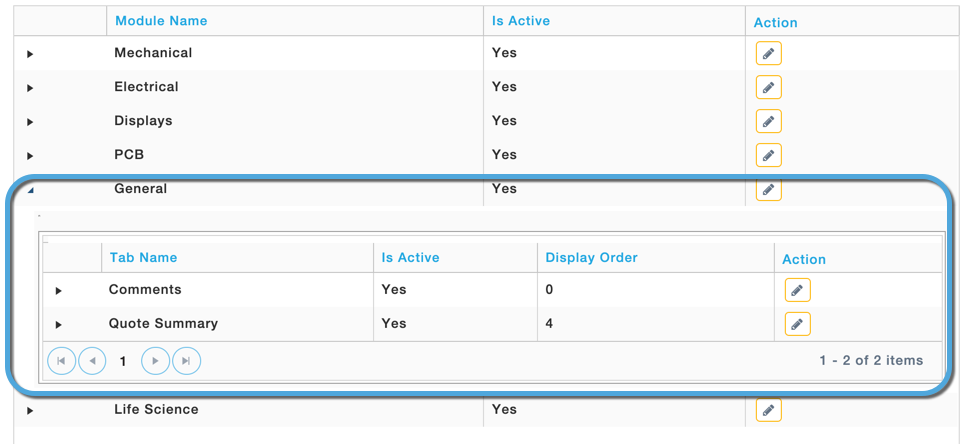
The tabs’ display order can be changed by clicking on the Pencil Icon in the Actions column.
Specify the order in which you would like to get the tab displayed in the Display Order field and Click Submit.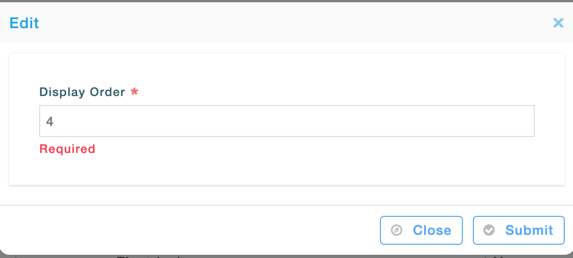
Within the tab, different sections can be configured by expanding the required tab identifier. Similar to what we have already seen for tab configuration, against section identifier we have two Actions- To edit and to delete the selected section within the tab.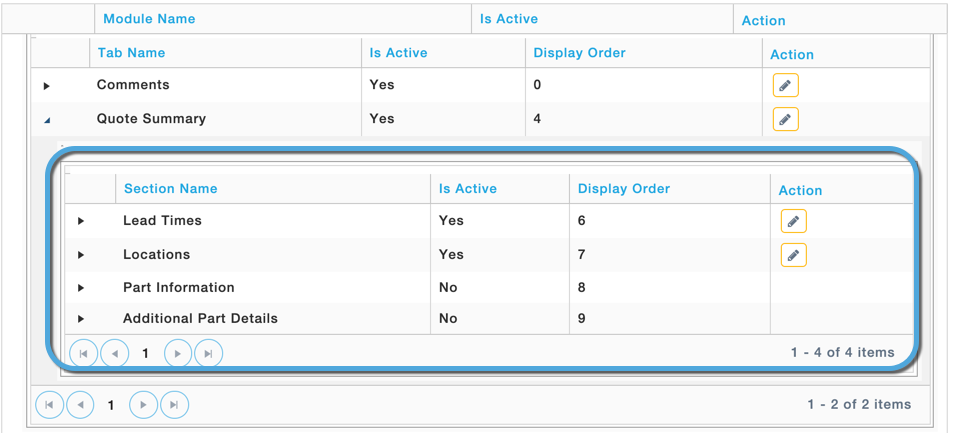
The Section Identifier can be further expanded to view the components such as the fields, legends and tables.
The following actions are again made available for each of these components.
Edit: To make the component visible and to specify the order in which it is to appear on the screen.
Delink: To delink the selected section from the tab.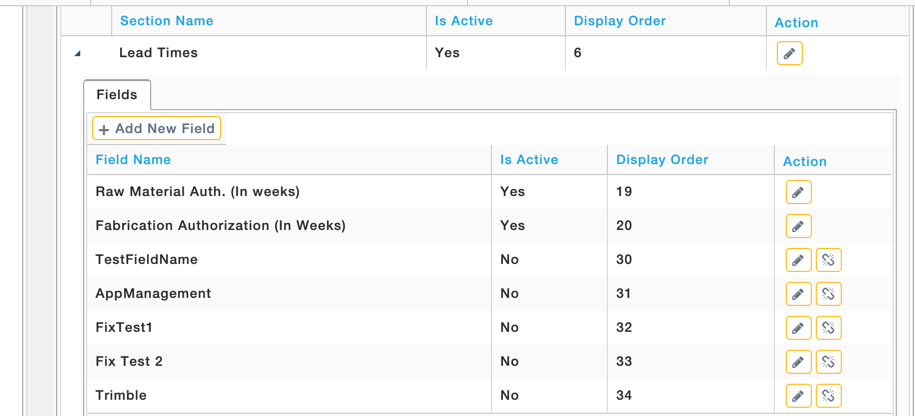
Further, to edit the field level details of the section identifier, expand the Fields section in the left hand pane and click on edit icon against the item.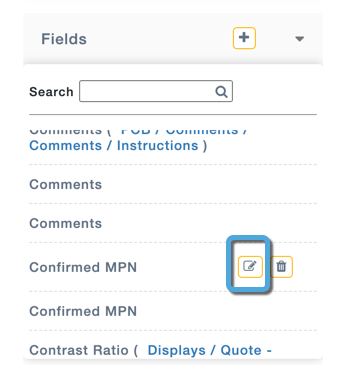
The pop-up window appears as shown where you can specify the following details. Some fields are
- Field Length: Specify the length of the field.
- Is Required: If made True will make the field mandatory in the form.
- Is Disabled: If made True will hide the field in the form.
- Is Active: If made True will make the field active.
Further Click on Save to save the details.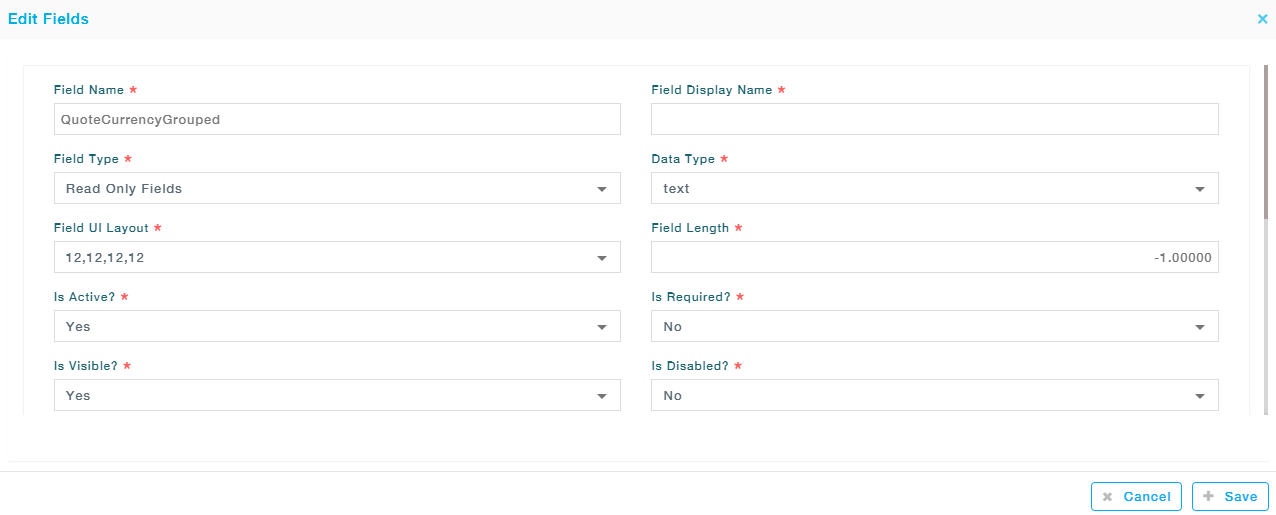 Also, you can delete any field by clicking on the Delete icon next to the field as shown.