
Add Item
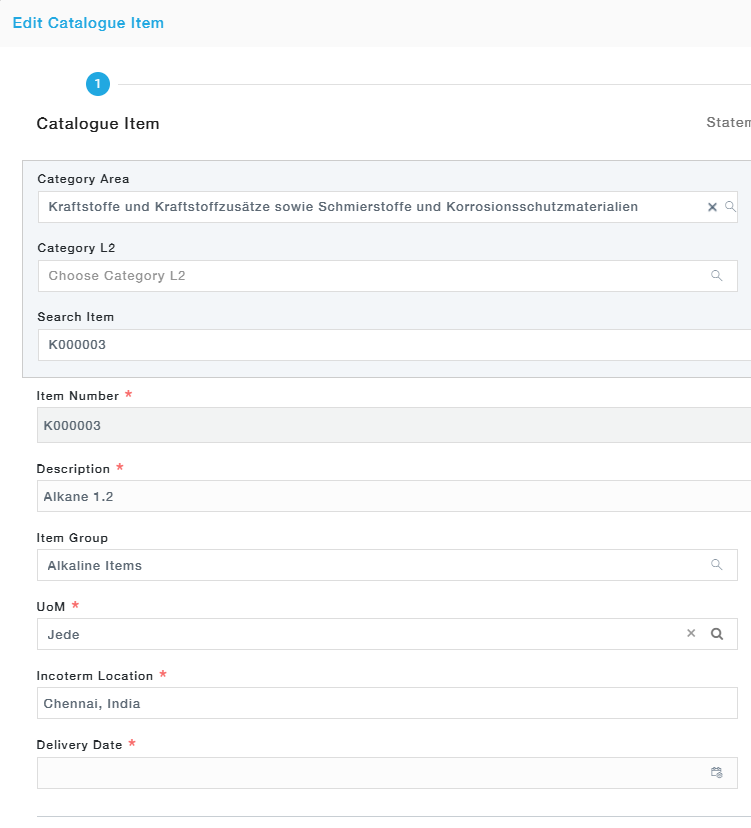
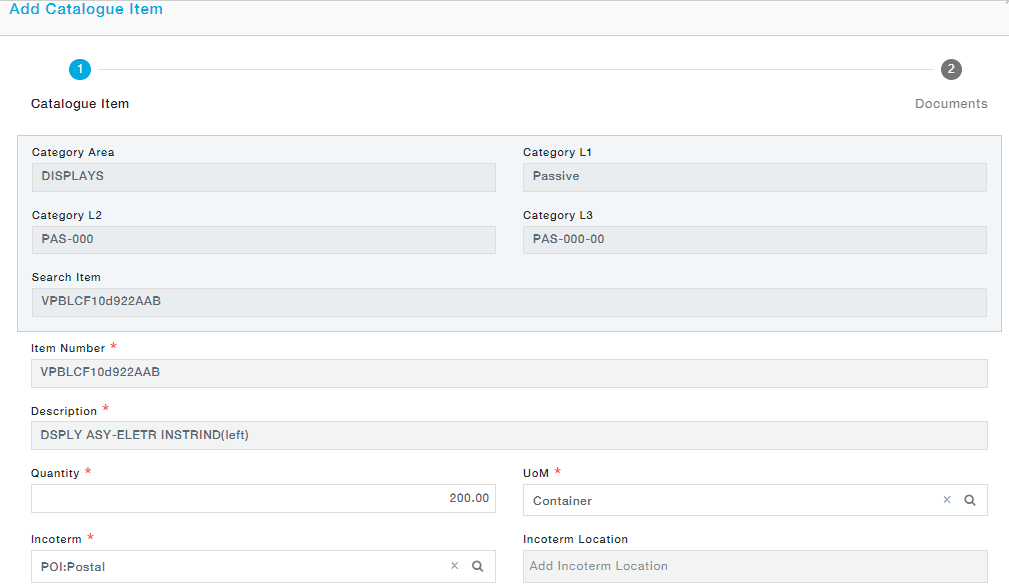
- Catalogue Item: In the pop-up, type a few characters of the part number in Search Part to search and select a single part. You may also choose the Category dropdown to filter and display only the part belonging to the selected category. Then provide the quantity, Unit of Measure, Incoterm, Incoterm Location, and Delivery date. Move to the next tab to attach documents. If the category has a SoW tagged in category definition, SoW tab will be available to the user.Adding an Item in RFQ defaults to the default UoM (Unit of Measurement) of the Item. Change to any UoM of the same UoM Class.
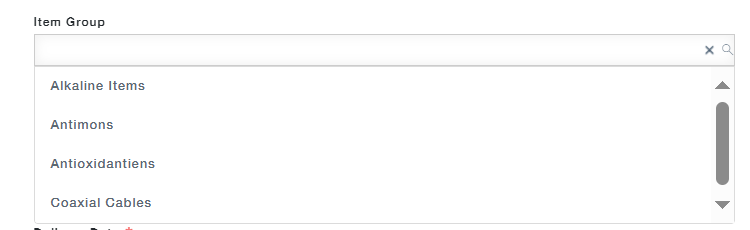
- The items can be grouped into various categories using the menu “Item Group”. The users have the ability to add the groups manually or tag the items into the existing the groupsChoosing Catalogue Item will open a pop-up form where the details of the Catalogue Items can be edited.
- The user can add an item within a group as mentioned or a new group can be added manually by entering the group name

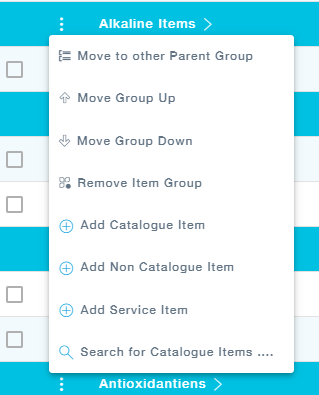
The items can also be added by clicking the menu icon near the group name. This menu provides the options like Move to other parent group, moving the group up and down the hierarchy, removing the items from the group and so on.
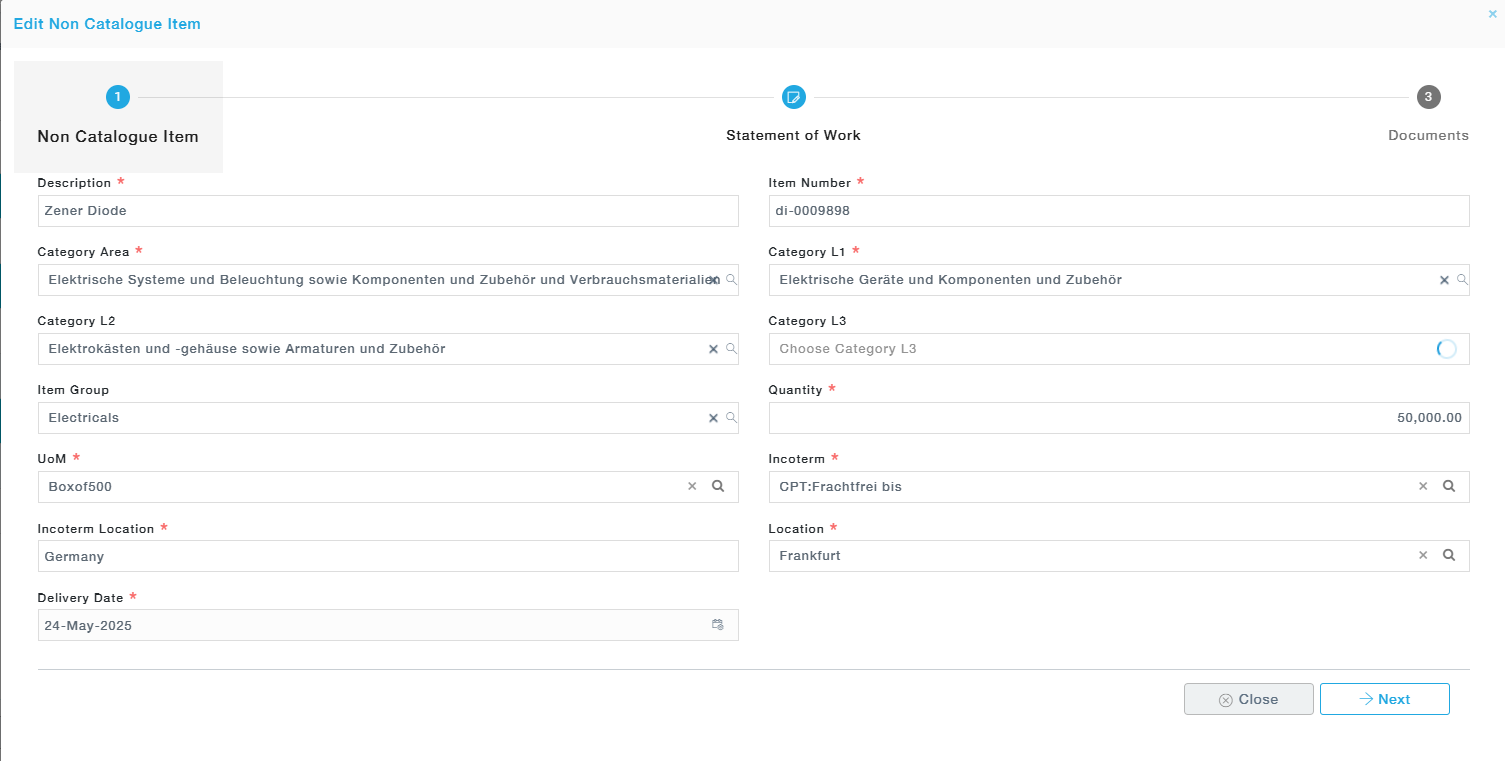
- Non – Catalogue Item: Provide non-catalogue item details. Move to the next tab to attach documents. If the category has a SoW tagged in category definition, SoW tab will be available to the user.
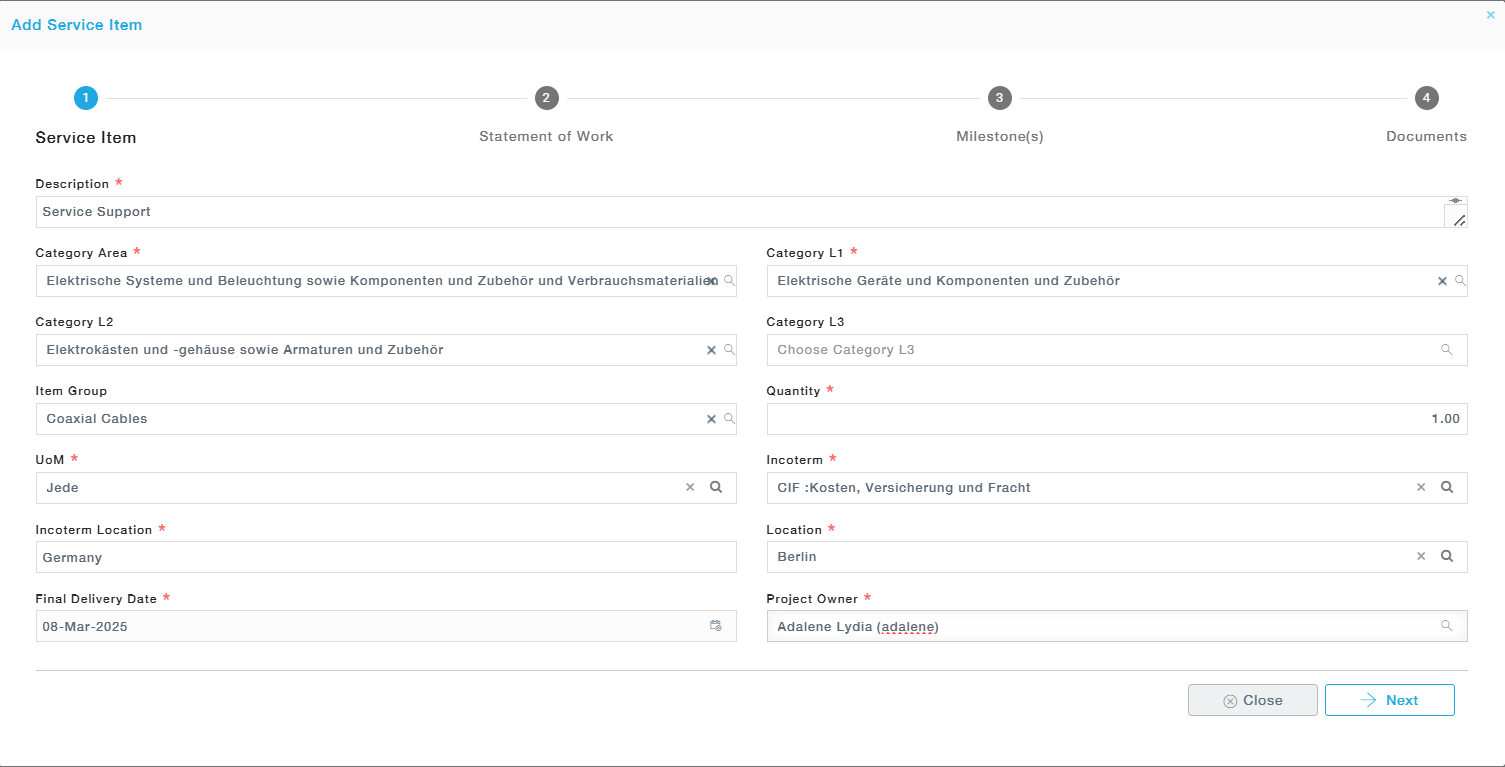
- Service Item: Provide the details of the service items.
Under the Statement of Work, you are provided with a text editor to draft the SOW.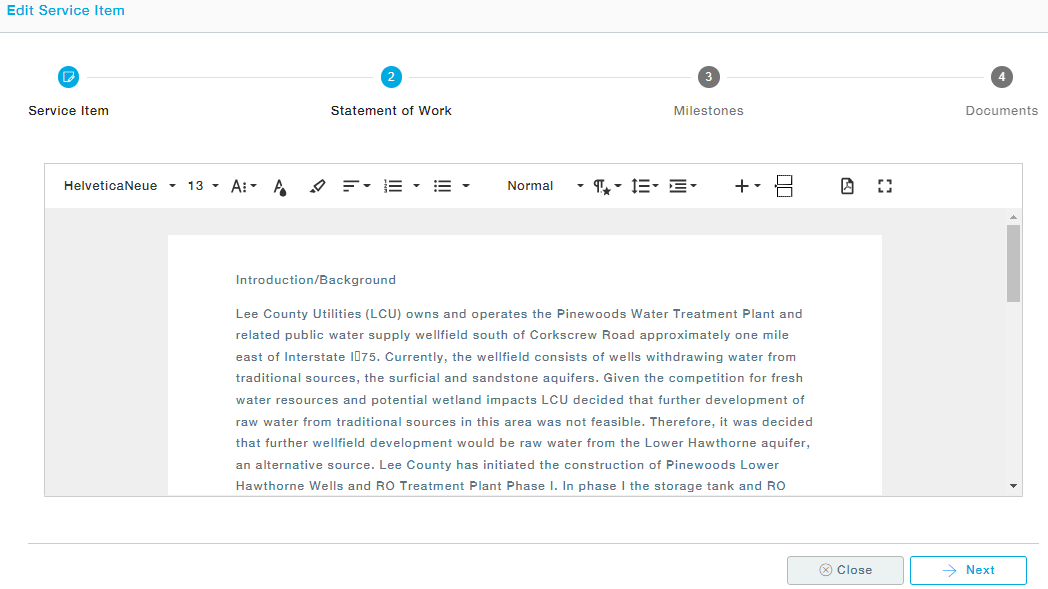
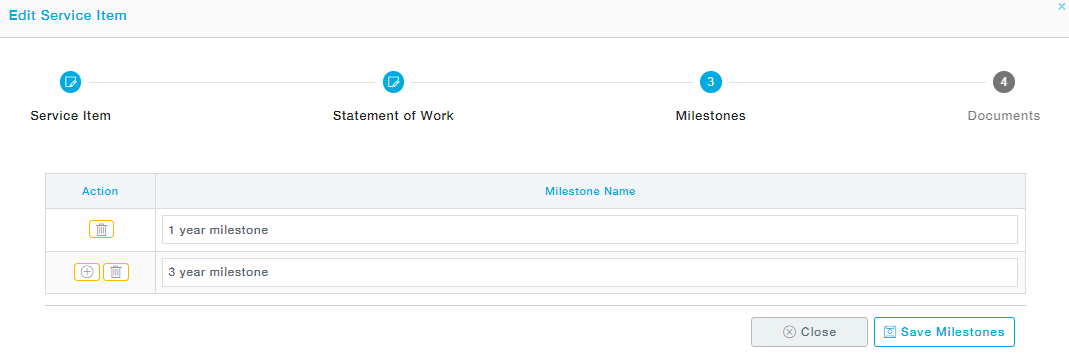
While creating an RFQ, Buyers have the flexibility to add Service Items without defining milestones. If milestones are clearly defined for the service, they can be added during RFQ creation.
If not, the Buyer can choose to skip milestone entry and proceed, allowing the inclusion of servicesthat do not follow a structured milestone approach.
 Move to the Attachment tab to attach documents.
- Search for Catalogue Items
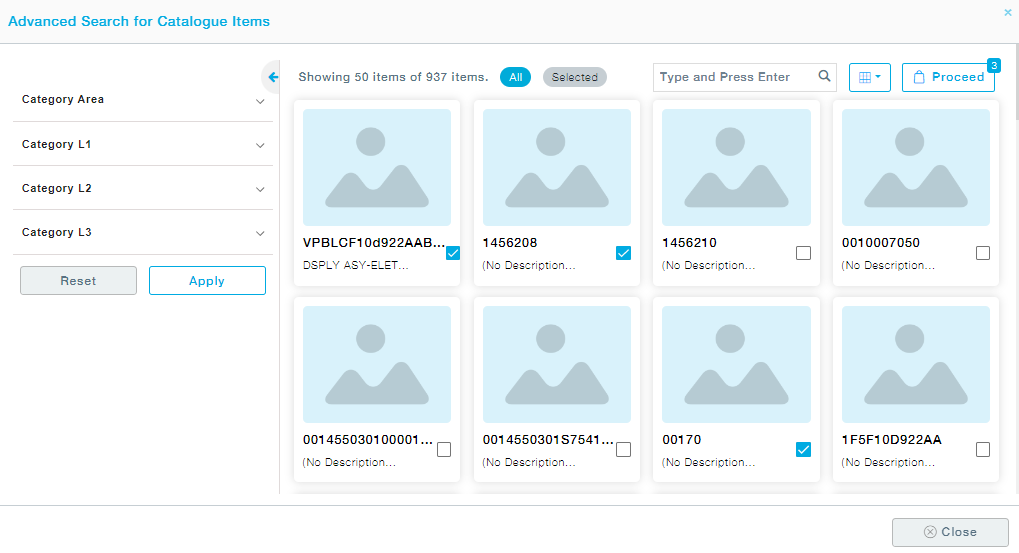
The Advanced Search options will let you choose the items from the list of items. You can filter the items using the Category Area and Category Levels. Select the items and click on the Proceed button to move to the Item information page.
Adjacent to the Proceed button there is an option to view the items in both Grid and Tile view, choose as desired.
Now provide the details of the items one after the other by clicking on Next add the Documents and further the details of the other items one by one.
Delete: Delete the selected items.
Link Suppliers
From the items grid, select one or more items and choose Link Suppliers.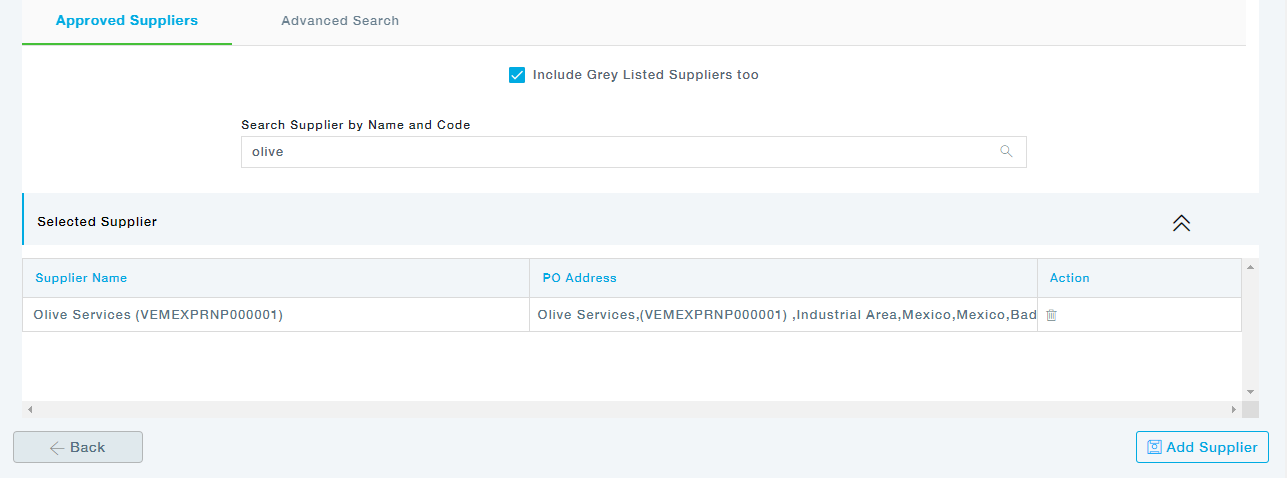
More than one supplier can be chosen. Also, there is a tab for advanced search where with the help of filters you can easily search suppliers based on different attributes.
Once all the suppliers are chosen, click on the Add Supplier button to link those suppliers to the selected items.
Link all Preferred Suppliers
This will link all the suppliers that have already been mapped to the category of the selected item under category management. Two options are available:
- Remove Existing Suppliers and Add: This removes all the suppliers already mapped to the item by the user and adds the suppliers that have already been mapped to the category of the selected item.
- Add to Existing Suppliers: Provision to add category suppliers on top of the already selected supplier list.
Link All Grey Listed Suppliers
This will link all the Grey listed suppliers that have already been mapped to the category of the selected item under category management. Two options are available:
- Remove Existing Suppliers and Add: This removes all the grey-listed suppliers already mapped to the item by the user and adds the grey-listed suppliers that have already been mapped to the category of the selected item.
- Add to Existing Suppliers: Provision to add the grey-listed category suppliers on top of the already selected supplier list.
Download Template
Catalogue Items:

Non-Catalogue Items:

Upload Template
The downloaded templates are filled with the item details and uploaded. Choose the file from the location and upload it. Refer to the General Operations User Manual to know the step-by-step process.
Update standard Price: Update the standard price of the selected Items
Update the Delivery Date: Change the delivery dates of the selected Items.